Tutorial: How to Easily Change Pages from Color to Black and White or Grayscale in PowerPoint
August 12, 2020 | by Maria

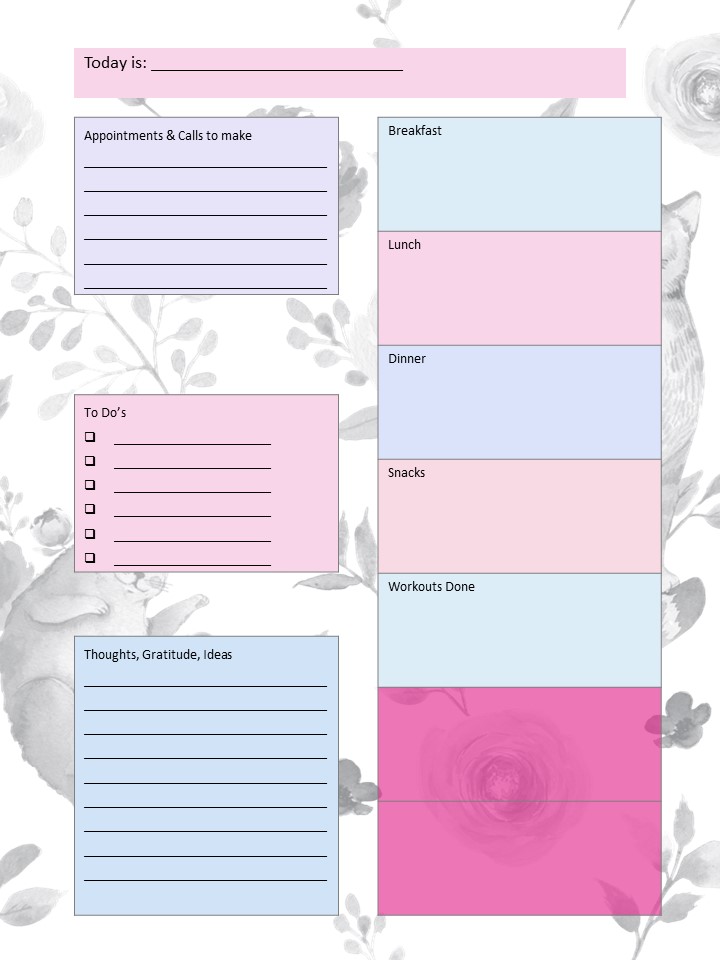
It’s not uncommon to buy journals, planners, workbooks, recipes, and other printables that come in colored pages. They are lovely and you don’t mind consuming tons of ink, getting them to your local printer, or ordering a print-on-demand copy to enjoy them.
Oh, boy, they are costly… but who cares?
When you move past being a hobbyist to becoming a book publisher, one printed copy will get you nowhere and exorbitant costs won’t make the cut.
Publishing in Color Is Costly
Go to Amazon’s Kindle Direct Publishing, test uploading a colored journal, and see what that means to your bottom line.
It may look impressive but who would buy a copy at an exorbitant price?
You want to publish and sell at the lowest cost possible and collect a viable profit margin.
How can you maximize the digital low content private label rights (PLR) materials that you’ve collected over time?
How many products from bundles, deals, bonuses, and freebies have you stored in your drive through the years that you’ve been online?
Me, I have 5 full drives of PLR content and I have barely consumed 2% of it.
Like many others, we’re on the same boat on this, aren’t we?
Given that, why start from scratch?
There’s plenty to work on already.
After all, you invested your hard-earned money on those materials. You must use them. Besides, time is of the essence and starting from scratch means using up time.
Optimize What You’ve Got
Why not make the most of your assets?
Right.
Since you have plenty of colored printables with PLR, start there.
The question is, how can you convert the colored pages in your printables into black and white?
How to Convert Your Colored Pages into Black and White
Here are three options for you:
Option #1 – Re-create the Pages Manually in PowerPoint
Copy the layout of your existing document. Do them in black and white. Use what you can. Discard what you can’t or don’t like.
This is tedious.
Unless you want some parts badly but not the others and there’s no way around it using other means, don’t take this route.
Option #2 – Use an online converter
An example of an online converter is PDF Resizer.
- Go to PDF Resizer;
- Choose your PDF file from your drive;
- Upload it;
- Convert into black and white (Click “Looks good, do the magic!” button);
- Download.
There is also Online2PDF as an alternative and if you search online, you’ll find a handful more that are free to use.
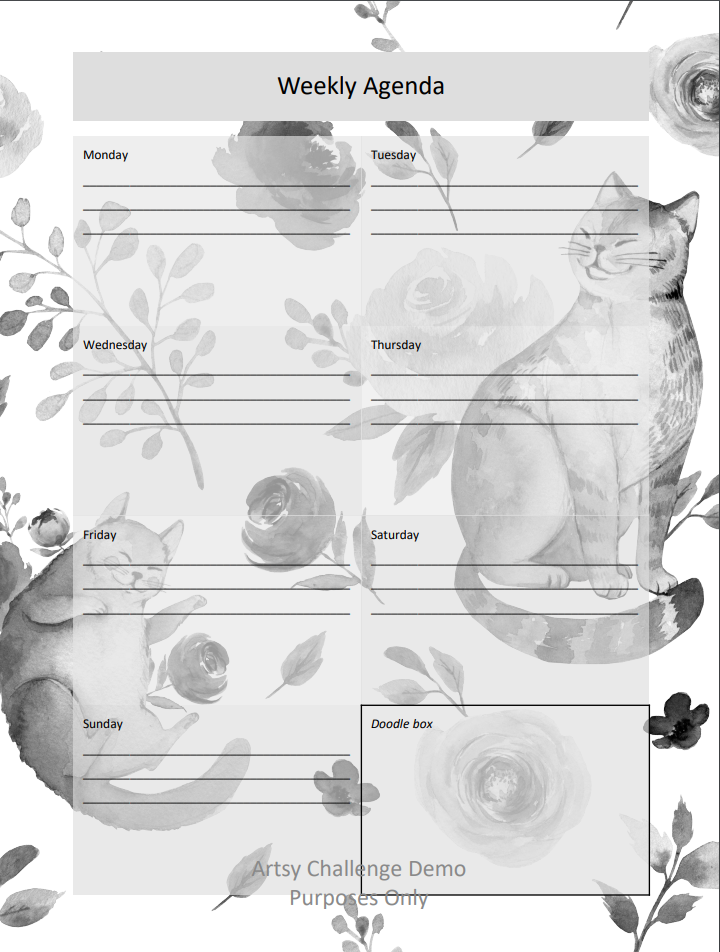
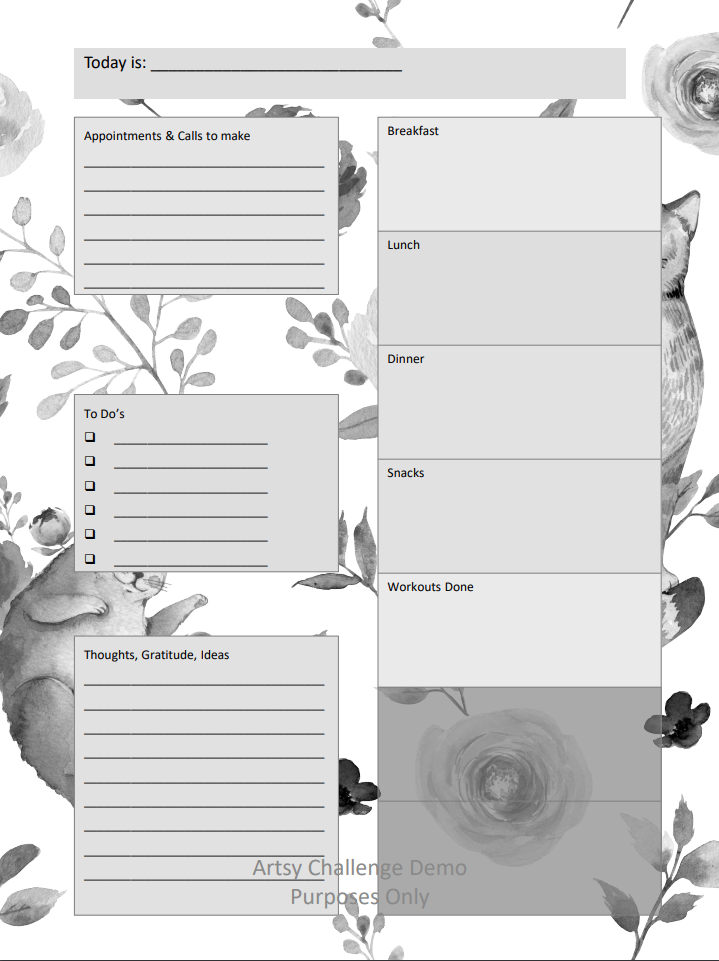
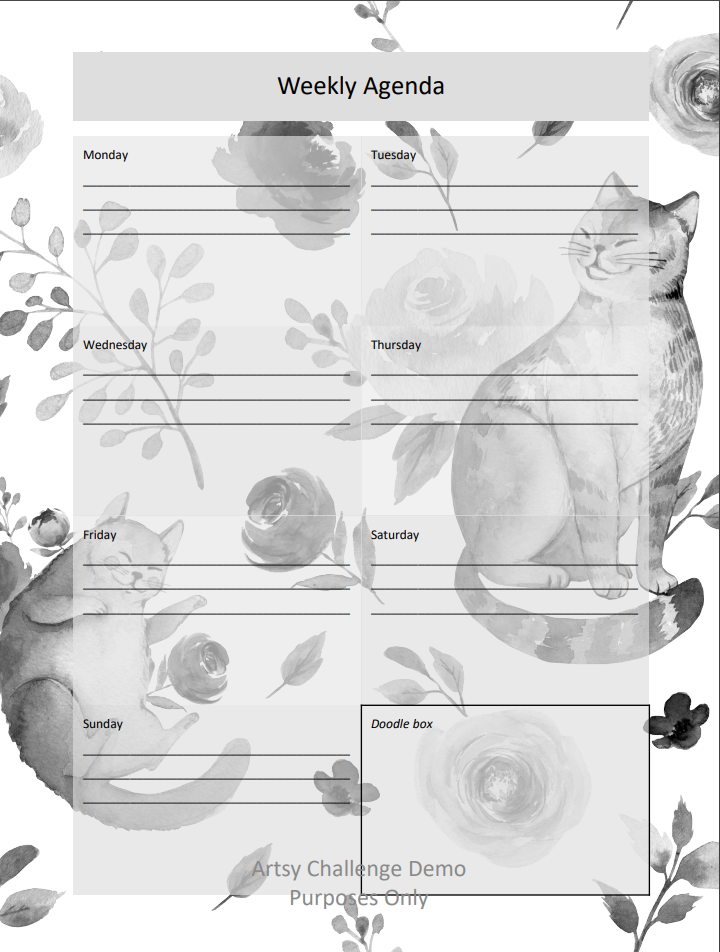
Indeed, your colored document gets converted to black and white, or grayscale.
If your pages include clipart, backgrounds, or elements that don’t overlap, they are good to go.
Otherwise, your pages would look murky.
You want to give your buyers clean pages where they can write without distraction.
Option #3 – Convert Your Pages from Color to Black and White in PowerPoint (The Best!)
Your color page would have many elements to it such as:
- background image
- tables
- clipart
- photo
- fonts.
Let’s tackle the process of converting each one by one.
Background Image
To change a colored image that’s been set as background:
- Go to “Design”
- Click “Format Background” at the rightmost corner
- Click “Picture”
- Click “Picture Color”
- Click “Recolor” at the bottom
- Choose any of the presets that work for you.
Foreground Elements
Foreground elements are a combination of tables, clipart, photo, and fonts.
To change them altogether:
- Go to “Design”
- Go to “Variants” at the right corner of your menu
- Scroll down to “Color”
- Choose “Grayscale”.
All changes would apply to all your pages. However, some elements would remain in color and converting them to black and white will have to be done manually.
Table
- Click the table (element)
- Go to “Table Design” on the menu
- Find “Shape Fill”
- Choose the white background or black if that applies.
Clipart
- Go to “Design”
- Click “Format Background” at the right corner
- Click “Picture”
- Click “Picture Color”
- Click “Recolor” at the bottom
- Choose any of the presets that work for you.
Shape
- Go to “Shape Format” on the menu
- Find “Shape Fill”
- Choose the white background or black if that applies.
Option #4 – Convert Your Pages from Color to Black and White in PowerPoint Using View>Grayscale/Black and White and Print to B/W PDF
Here’s what you need to do:
- Open your file in PowerPoint;
- Go to view (which is the 9th button from the left) on your menu;

- Click “Grayscale” or “Black and White”;
- Play around with the available options such as:
Automatic
Grayscale
Light
Inverse Grayscale
Gray with White Fill
Black with Grayscale Fill
Black with White Fill
Black
White. - Once satisfied, click “File”;
- Press “Print” then choose Adobe PDF instead of the model of your physical printer.
- At the bottom, select “Pure Black and White” or “Grayscale”;
- Press the button “Print” and you should get a PDF in black and white or grayscale.
Now, tell me…
What do you think of these options?
Would any one them would work for you?
Would it make publishing physical books with black and white inner pages easier and faster for you?
Do you have your special way of doing the conversion?
If you do, please share them in the comment section below and I’ll add them to the list. Our readers would surely love your practical inputs!
Turn Your Content into Ready to Sell Journals and Planners
For more details on maximizing the functions of PowerPoint to create printables or low content books such as journals, planners, workbook, calendars and the like, check out Sue Fleckenstein’s (of Createful Journals) course, “Turn Your Content into Ready to Sell Journals and Planners.
It has 12 comprehensive modules that teaches you basic and advanced lessons in using PowerPoint particularly for the printables and low content book publishing market.
Module 1 – Course Walk Through
Module 2 – PowerPoint Tips and Tricks
Module 3 – Options for Selling Journals
Module 4 – Setting Up Your Website
Module 5 – Marketing
Module 6 – Advanced Training
Module 7 – Publishing on Amazon KDP
Module 8 – Publishing on Lulu
Module 9 – Fillable PDFs
Module 10– Creating Printables
Module 11 – Digital Planner
Module 12 – Bonus
It is designed for:
- Bloggers who want to produce journals, planners & printables for their customers
- Authors who want to publish a line of journals and planners
- Anyone who is creative and wants to find an outlet for their creativity
- Work at Home Moms that want to start an online business in their spare time
- Aspiring designers
- Coaches who want to brand their planners and journals
- Any small business owner that wants to create their own products
- Anyone that wants a new business venture
- Etsy or Shopify store owners who are looking for new products to sell
- Anyone who can’t find that ‘perfect’ planner or journal – you can now create your own
- Anyone who has an interest in creating journals, planners and/or printables
- Brick & Mortar business owners looking for customised printables and planners to sell or give away
This course is not just comprehensive but dynamic as well; meaning, it keeps building up new content based on market trends.
Use coupon code Maria$30 to save $30 on your purchase.


